Cesium系列(5)--源码编译和调试(ES6)
Cesium源码编译和调试(ES6)
作为目前来说支持大场景,海量模型数据,LOD分级渲染的三维免费开源项目 Cesium 应该是最优选择了。 保持每个月更新一次的维护效率,加上各种社区的支持, Cesium 在未来很长一段时间内都会是最优的开源选择。
对于好的开源项目,大家都是会想了解它的原理是什么,它的代码是什么样的。哪些地方值我们学习。今天就详细介绍一下怎么编译和调试源码。
包的分类
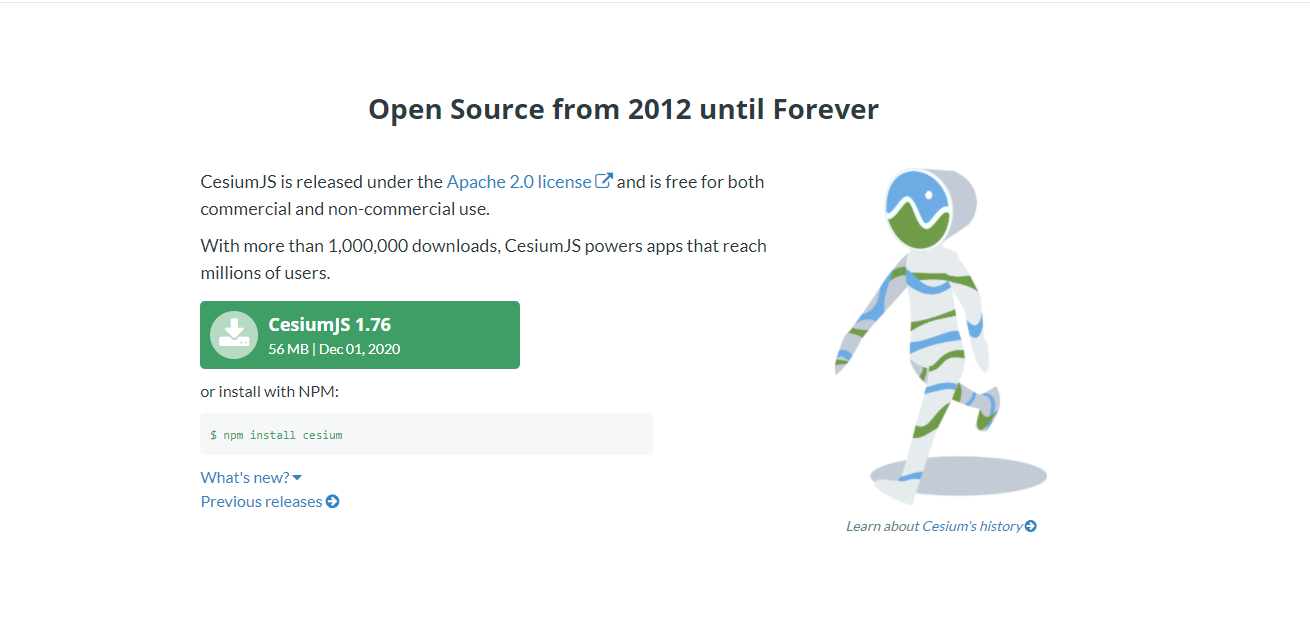
预编译包也就是我们在官网上看的js包 下载地址
这里面提供了打包之后的js库和示例以及文档。在这里面调试,打包会编译失败。
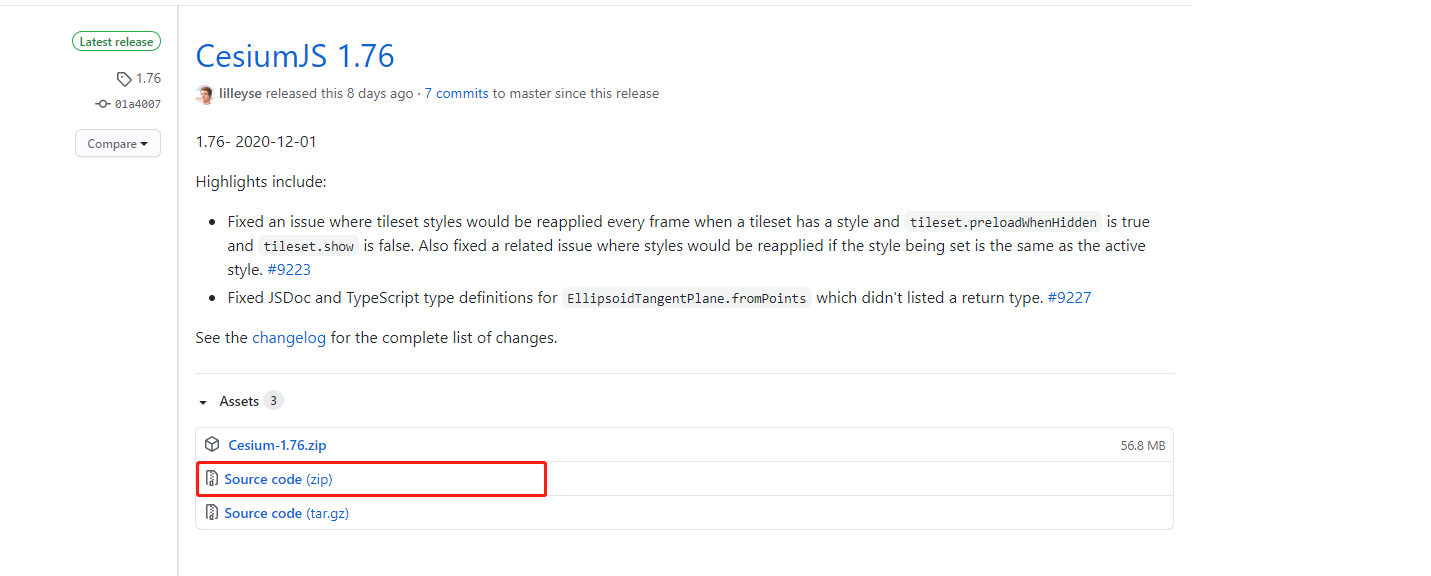
源码包源码包打包之后是可以得到预编译包。如果想修改源码,就使用这个包。获取方式有两种。git安装git clone https://github.com/CesiumGS/cesium.git
- zip包下载 下载地址
编译运行
下载解压源码包之后,找到根目录(package.json同级),然后安装模块
npm install
// 国内较慢的道友们, 用cnpm 也可以
cnpm install
编译命令
npm run release // [最完整的打包]
// 打包到Build 目录下,包括上线的运行版本,调试版本 和API文档

npm run makeZipFile // [生成分发zip包]
// 打包到根目录下的 Cesium-<版本号>.zip ,删除不必要的开发文件

//打包到Build目录下的Cesium目录
npm run minifyRelease //[线上运行打包]
npm run minify [线上运行留Debug信息打包]

// 打包到Build目录下的CesiumUnminified目录
npm run combine //[不压缩并留Debug信息打包]
npm run combineRelease // [不压缩且不保留Debug信息打包]

// 运行本地帮助文档,示例代码服务
npm start  <--port 可选端口>

// 运行局域网内帮助文档,示例代码服务
npm startPublic
本地运行
在运行之前,需要先运行一下npm run minify或者上面的几个打包命令(都是比较慢3分钟左右)。因为源码包里面最初是没有Build目录的,运行这个目录是先生成一个Build目录。便于后续的本地启动。
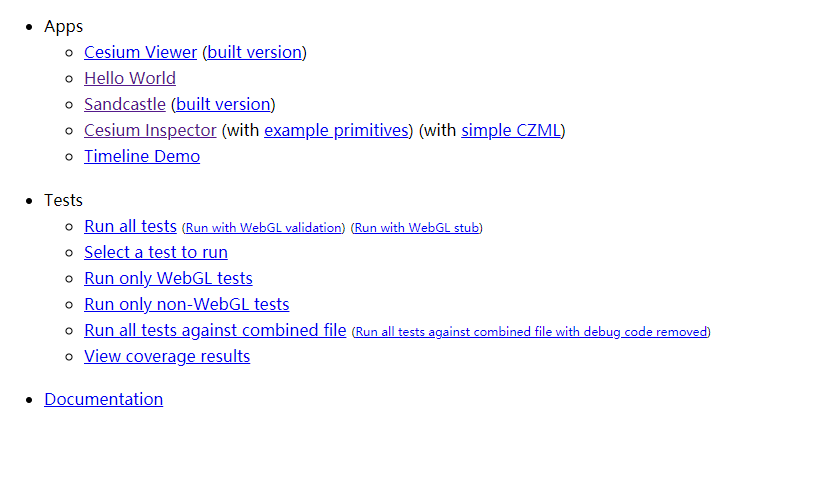
然后运行npm run start, 默认地址为http://localhost:8080/
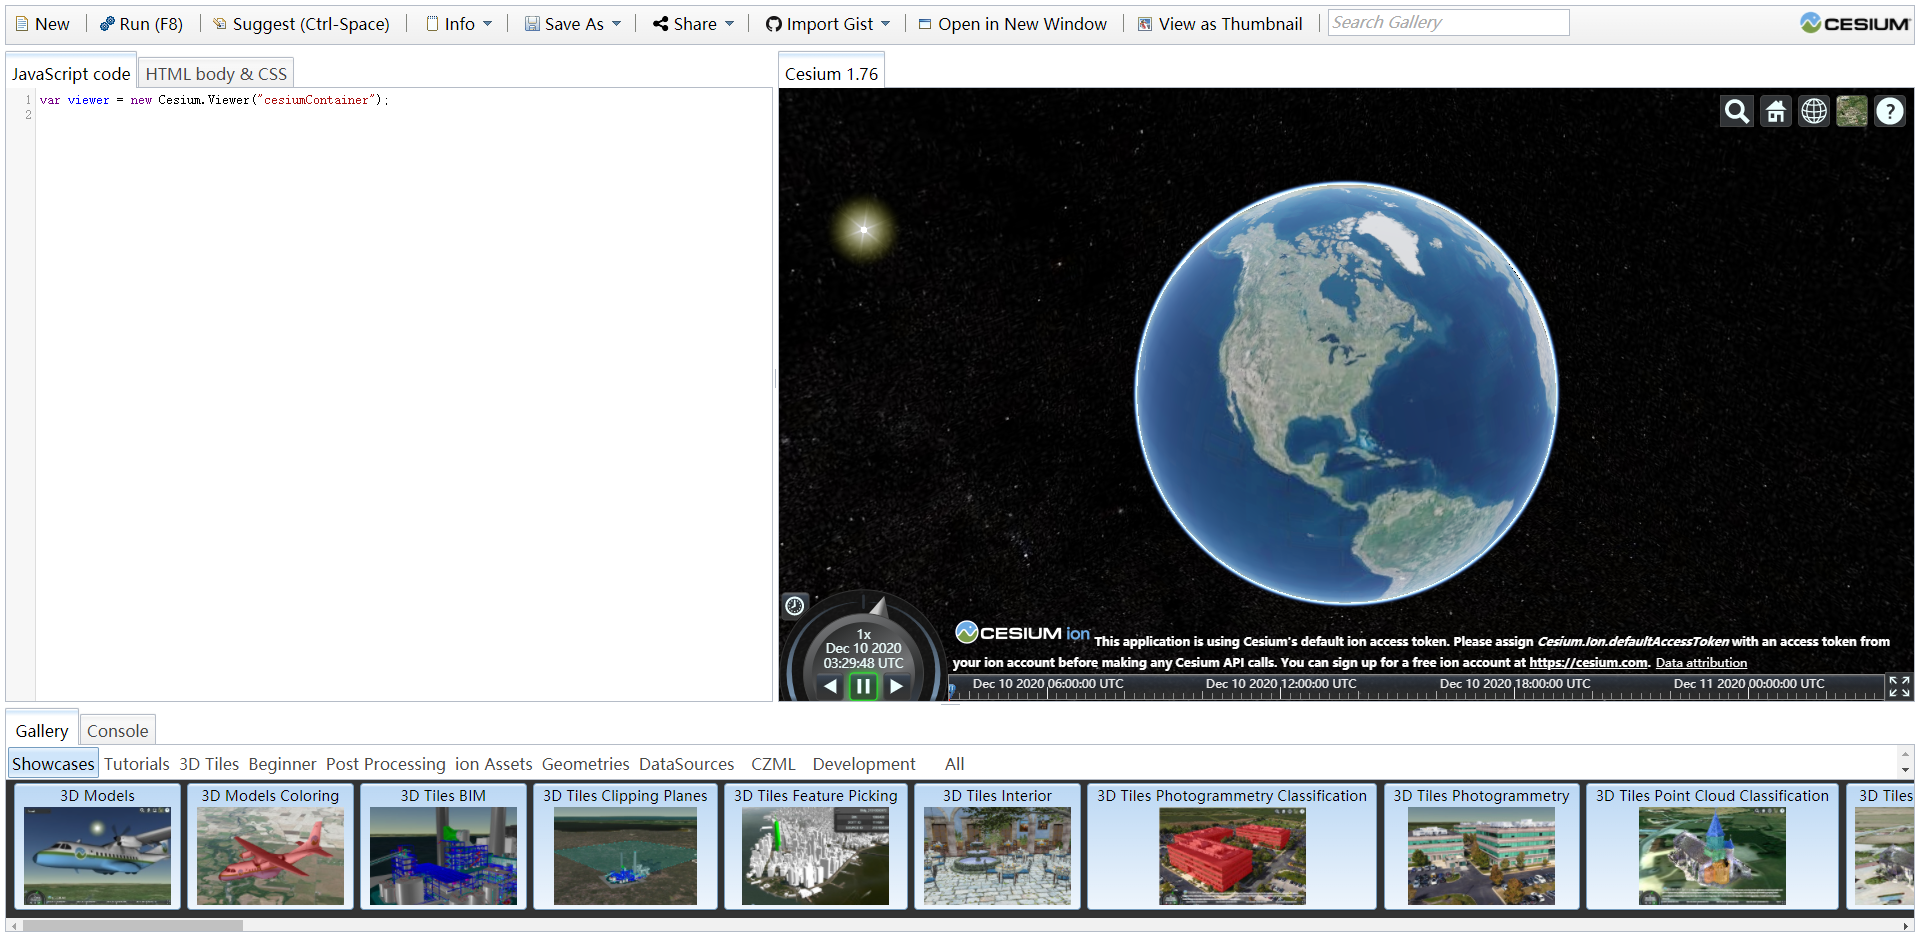
点击Sandcastle就能看到内置的Demo了调试运行
源码的文件都是在
Source目录下的,所以我们在调试的时候,当然是引用Source目录下的文件来实时运行调试了。因为ES6很流行了,所以调试的方式基于ES6import 导入
准备
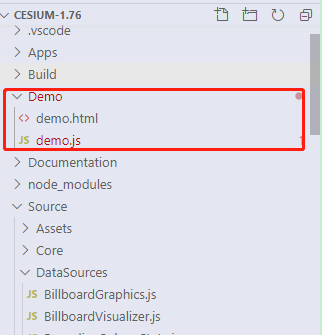
首先在源码的根目录下建立一个文件夹Demo,然后里面建立两个文件demo.html和demo.js编写
demo.html的内容如下/*
* @Author: Jercky
* @Date: 2020-12-10 11:44:14
* @Last Modified by: Jercky
* @Last Modified time: 2020-12-10 11:44:14
*/
<html lang="en">
<head>
<!-- Use correct character set. -->
<meta charset="utf-8">
<!-- Tell IE to use the latest, best version. -->
<meta http-equiv="X-UA-Compatible" content="IE=edge">
<!-- Make the application on mobile take up the full browser screen and disable user scaling. -->
<meta name="viewport" content="width=device-width, initial-scale=1, maximum-scale=1, minimum-scale=1, user-scalable=no">
<title>源码调试</title>
<!-- <link rel="stylesheet" href="../Source/Widgets/widgets.css"> -->
<style>
@import url(../Source/Widgets/widgets.css);
html, body, #cesiumContainer {
width: 100%; height: 100%; margin: 0; padding: 0; overflow: hidden;
}
</style>
</head>
<body>
<div id="cesiumContainer"></div>
</body>
<script>
window.CESIUM_BASE_URL = '../Source'
</script>
<script type="module" src="demo.js" ></script>
</html>demo.js的内容如下/*
* @Author: Jercky
* @Date: 2020-12-10 11:44:14
* @Last Modified by: Jercky
* @Last Modified time: 2020-12-10 11:45:09
*/
import * as Cesium from '../../Source/Cesium.js'
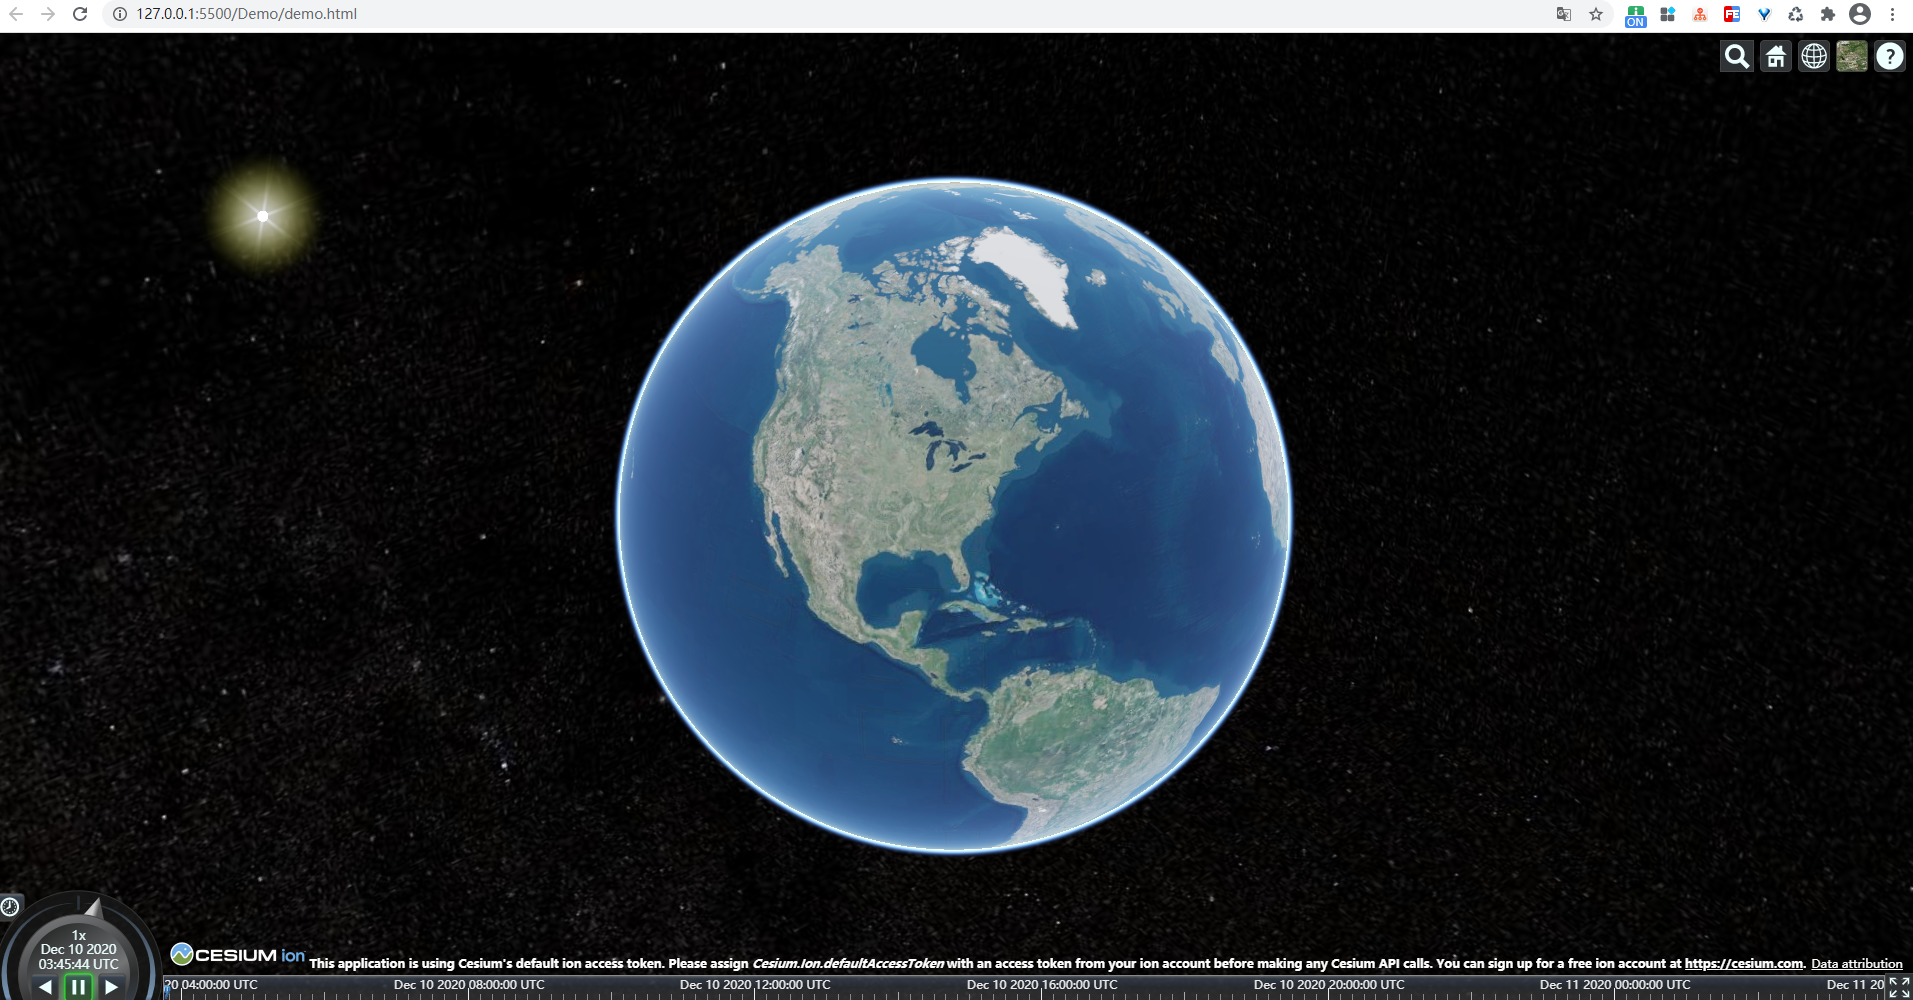
const viewer = new Cesium.Viewer('cesiumContainer')运行
我用的是VsCode调试工具,有个插件Live Server很好用。 用插件打开demo.html即可在浏览器查看了修改源码实时运行
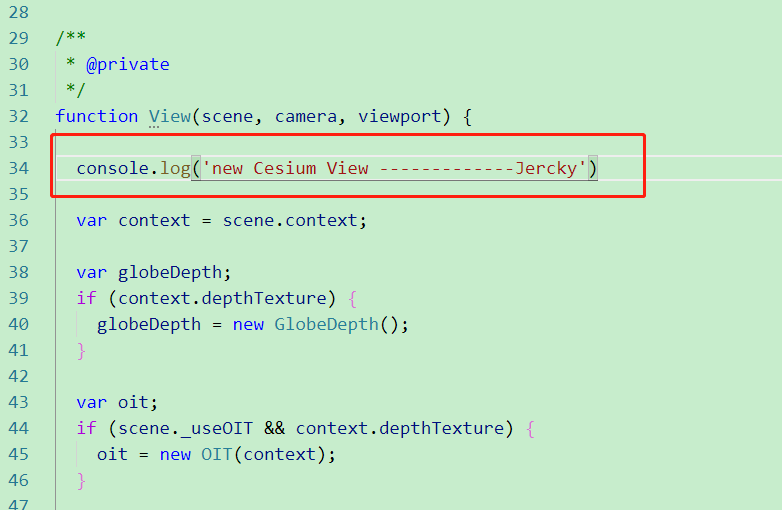
这里面只是做一个简单的演示。在Source/Scene/View.js中 增加打印输出。console.log('new Cesium View -------------Jercky')
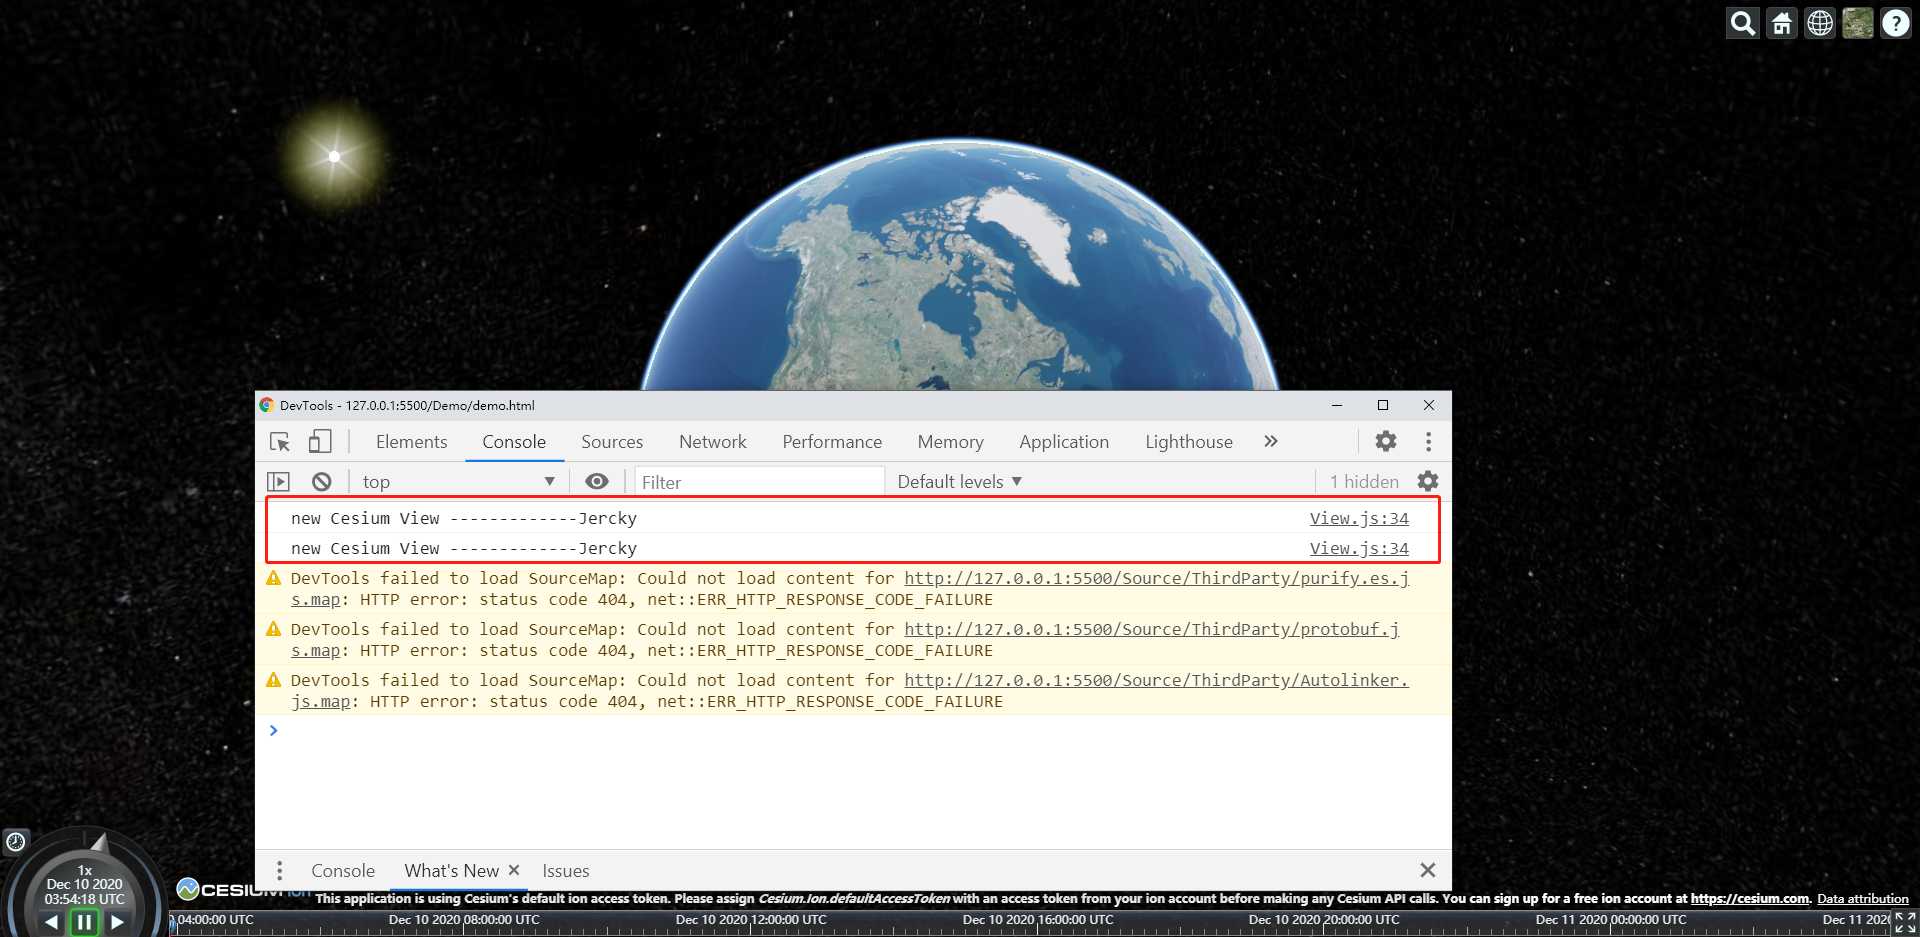
运行结果:打包使用
当自己的源码修改完成之后,运行
npm run makeZipFile就能生成和官网一样的 预编译包了。这里就不再演示了。
音乐小憩
- 微信
- 支付宝